Good morning! I thought today I would talk about my second project on the Spellbinders™ Sneak Peek and Giveaway!
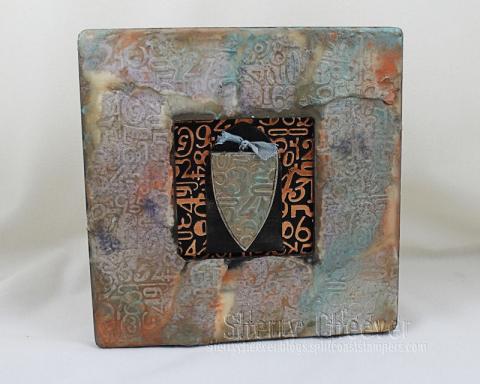
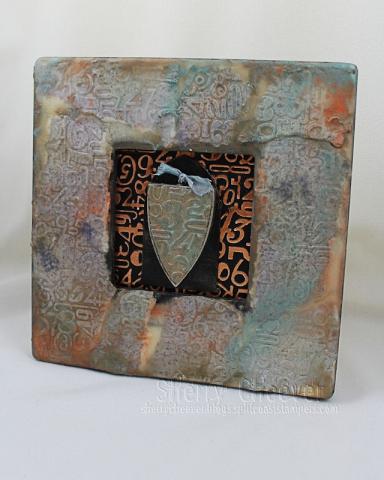
After my initial project (the layered arches) was done, I was boggled with what my second project should be with the assigned dies. I had a ball working with the beeswax on the first project and thought why not carry it on over into the second. The problem then was . . . what. I finally settled on pulling out one of the $1 frames from Michael’s that I had down in my class surplus.
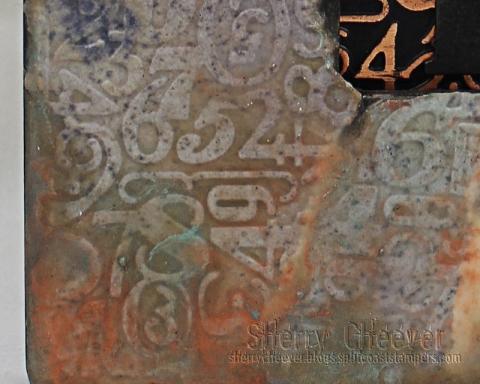
The first thing I did, was to add some color to 140 lb. watercolor paper by misting it with Heirloom Gold Perfect Pearls mixed with Dusty Concord, Spiced Marmalade and Tumbled Glass Distress Ink Refills. While the paper was still damp, it was embossed with the new EL-027 Numbers and Letters M-Bossabilities Folder. Of course, I used an entire sheet of the paper which needed to be torn and the individual pieces run through the Grand Calibur in the M-Bossabilities.
My goal was to make this project look more distressed than the first, but not dark . . . I wanted color!
Following the same steps used in the other project, several layers of beeswax was applied to the bare wood frame, to give the paper something to adhere too. Now this is where everything went awry . . .
I started tearing the watercolor paper into strips and applying it to the frame with more layers of beeswax, adding different colors of Perfect Pearls as I went. The more I messed with it, the more layers of wax I had, some of the paper wasn’t sticking, and the more I added the worse it got.
Finally, when I had all the paper down and I kept seeing the wax pooling in odd places, I finally game up and dropped a roll of paper towel onto the project. It picked up just enough of the melted wax to leaving me the color of the paper and the added colors of the Perfect Pearls. I stopped right there!
I kept worrying about the white wax that was showing and fretting over it was part of my problem. Once I stopped and let the piece dry . . . well, I decided I liked the white and left it alone.
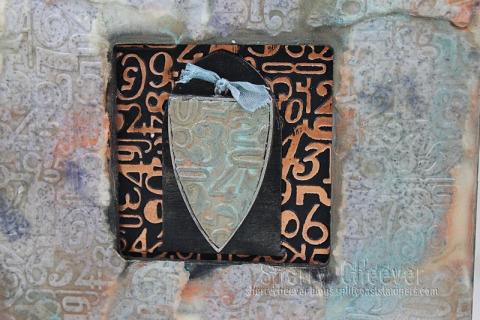
I used one the left over chipboard die cuts from the other piece as the background for the shield bezel and painted it black. The bezel, which is open-backed and an old one I had here from the Art Mechanique line, was placed on the Numbers and Letters M-Bossabilities and then I poured melted beeswax into the bezel. Once the wax was cooled and I could remove the bezel, Perfect Pearls were used to add some color. Before I forget, the colors of Perfect Pearls used on the project were Mint, Heirloom Gold and Mandarin.
The background for the inside of the frame is Royal & Langnickel Copper Foil Engraving Board. It was embossed with the Numbers and Letters M-Bossabilities and then sanded to reveal the copper foil underneath the black coating.
I think that’s all for right now! I’ve got a few more CHA projects to share, but of course . . . you’ll have to wait until the show starts and the die templates are live on the Spellbinders site.
Thanks for stopping by . . . oh and maybe I’ll get that other flower tutorial done this weekend when I’ve got some “ME” time to head downstairs and work for a few minutes.
Project Supplies:


Again, another beautiful creation! And beeswax – such fun to work with!
Looking forward to the flower tutorial! Thanks, Sherry!
The frame came out really nice. Thanks for sharing.
WOW! Sherry, another stunning project! I’m head over heels for the two Spellbinders projects you’ve shared…just amazing!
Sherry, this project is awesome. I may have to give beeswax a try, thanks to you. I always enjoy your blog. You are so creative. Thanks for sharing and have a great day.
Sherry, this is gorgeous.. you’re really in a creative mood these days! Hallelujah! I’ll bet this even smells yummy with all that beeswax!
Sherry ~~~ L O V E I T !!!!!!
Now I need to add a melting pot and the bee’s wax to my ever-growing shopping list :o)
Your project is a work of true art, Sherry!! Love the depth you created with the beeswax applications! The color shows, too.