
Good morning! I hope everyone is well and doing okay! I’m getting ready to head out to StampAway in Cincy on Saturday. It’s been a couple of years since I’ve been able to go so I’m pretty darn excited to get out among other stampers and be inspired! If you are there, stop me and say “Hi!”
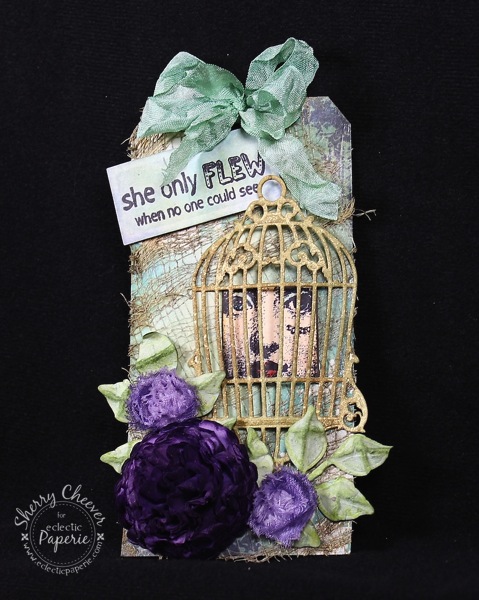
Today I have a watercolor card to share over on the eP Blog. I hope you’ll stop in and take a look at all the other photos and the details.

It was a fun little card to put together and hopefully on Saturday I’ll be able to pick up more of these stamps from Art Gone Wild. I’m also looking forward to visiting the Stencil Girl booth!
Thanks for stopping by today!

Project Supplies:


