
Good morning! A few weeks ago, I was approached by the owners of Lily Pad Cards about participating in a blog hop to help kick-off their new challenge blog that will feature challenges, videos, articles, interviews, prizes and more. I am very excited to be part of the Lily Pad Blog Hop.
This hop started on Monday, featuring seven blogs each day and will end on Friday, April 1, which marks the grand opening of Lily Pad Cards. Even though Lily Pad doesn’t officially open until Friday, you’ll be able to see a new sneak peek every day until then. If you encounter a bad link, please email [email protected]. (You can always go to the main blog for Lily Pad Cards to get to the next stop.)
No blog hop is complete without prizes! Go here to see contest rules and to register to win one of three prize packages with a combined total retail value of over $800 – including $100 in gift certificates to a very popular online store! In addition, they have a prize opportunity on their FaceBook page. Send them a friend request AND post on their Wall to enter your name in a drawing for a $25 Simon Says Stamp gift certificate!
But that’s not all! To show their appreciation for your support, InLinkz.com is giving away a 2-month InLinkz subscription to everyone who signs up to win one of the prize packages! (If you already have a subscription, InLinkz will extend your subscription an additional two months.) InLinkz is what I’ve been using to show you the product listed at the bottom of each post. I LOVE it and hope you do too!
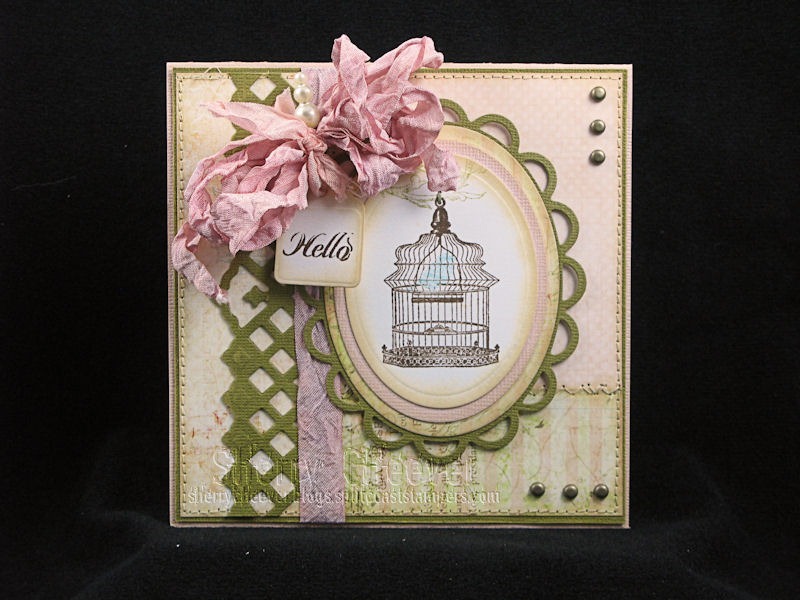
Now that I’ve given you all the details, it’s time for my card! I really had fun with this one and it’s two-fold. First to welcome Lily Pad Cards to the blogging scene, but also to welcome Spring (because I know we all need to think of warm weather, birds, bees and flowers).

I just got my hands on this new paper from PinkPaislee called Butterfly Garden. I fell in love with it at CHA and truly, it just screams Spring! I also used another new set from Crafty Secrets, Birdies. Okay the set is not new (it was released at Summer CHA), but it’s new to me.
I used a number of Spellbinders™ die templates (shown below for your convenience), dyed my seam binding pink using Victorian Velvet and stamped by images in Peeled Paint, Archival Coffee and Tumbled Glass. If you can’t see it, there is a teeny, tiny birdie stamped very lightly in blue inside the bird cage.
Now for the wrap-up! You should have came to me from the Simon Says Stamp Blog and from here you will be going to Kristina Werner. Enjoy the rest of the hop and thanks for stopping by today!

Supplies Used:


