I know don’t faint or anything but it’s me, Bad Sherry, really and truly! April was a month from hell and quite frankly . . .  I’m glad it’s over.  We had some family issues going on that kept me away from the studio all month.  Things are a little calmer now and I’m looking forward to having more time to create.  The first thing I get to do, is move my studio back to the basement.  I’m so excited!!  I’ll post pictures of the transformation as I go.

A few months ago I received an email from the owner of Artistic Stamper, Jennie Boxall, asking me to be a Guest Designer for them.  I have been following the Artistic Stamper Creative Team for a few years now and love all their work.  How could I possibly say no . . .

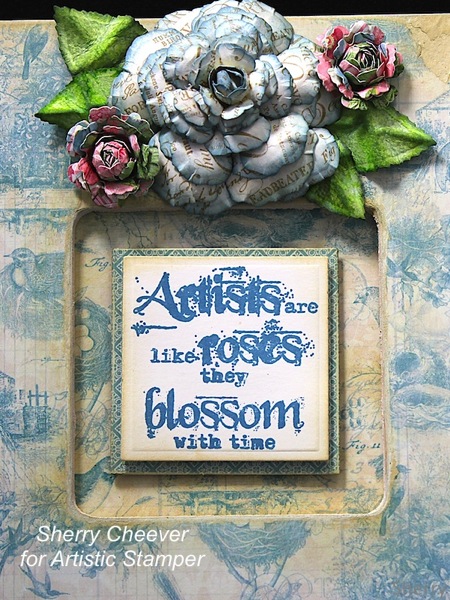
My first project is up on the Artistic Stamper Creative Team Blog today.

Frame Sentiment CloseUP

Please join me on the Creative Team Blog to see more photos and to get all the details!

Thanks for stopping by!

SHERRY SIGNATURE


Project Supplies:

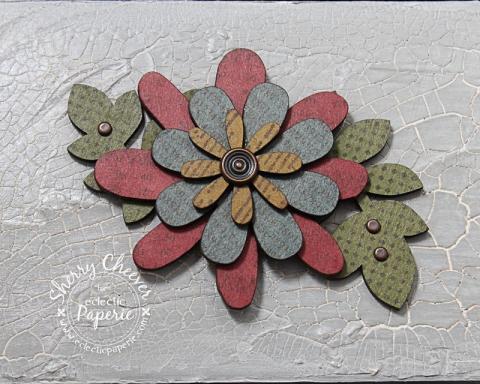
Good morning!  It’s my turn this month to host the ePlay Challenge over on the eclectic Paperie Blog.  I’ve challenged the Design Team (and anyone else who wants to play along with us) to use wood on your project!

Here’s my project for the challenge . . .

ePlay Unaltered Box CloseUP

You can find out all the details and more photos over on the eP Blog!  I hope you’ll join me over there and play along with us as well!

Thanks for stopping by and joining me today!

SHERRY SIGNATURE


Project Supplies:

QFD_SA_BlogHop-03-14

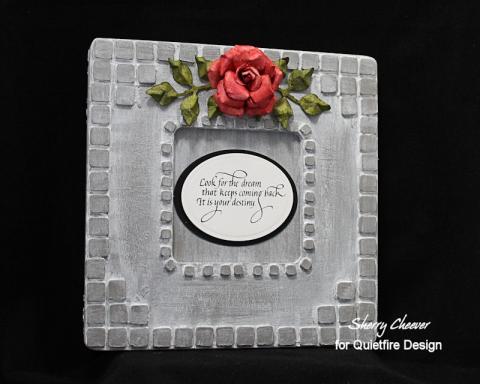
Good morning!  All this week, the designers for Quietfire Design and Scrapbook Adhesives are joining product for some very creative projects.  Today is my day to post on the Quietfire Creations Blog. Here’s a quick look at my project!

March2014SCLookForTheDreamFrameLEFT

Please join me on the Quietfire Creations Blog for all the details and more photos.  There are prizes and lots of creative goodness for you to draw inspiration from, so I do hope you’ll join us and hop along!

SHERRY SIGNATURE

Project Supplies:

Hello everyone!  I hope you’ve all had a good week and Spring is starting to knock at your door.  If you’re like me, you can’t wait for warmer weather and little sunshine!  I’m so looking forward to short weather!!!!

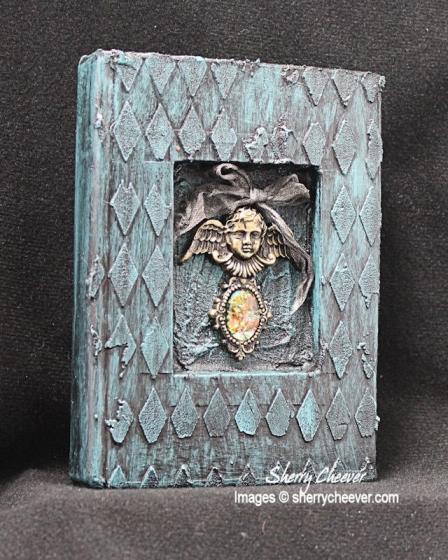
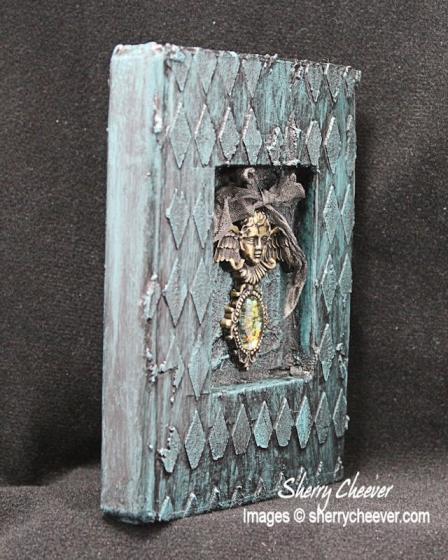
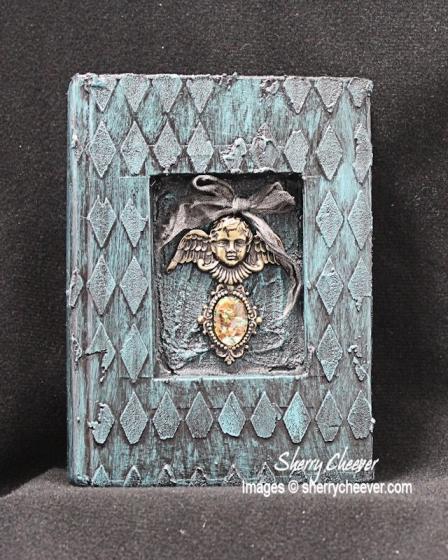
I’m back today with my completed altered book.  It’s only taken me over a week to find the time to finish it . . .

AlteredBook2

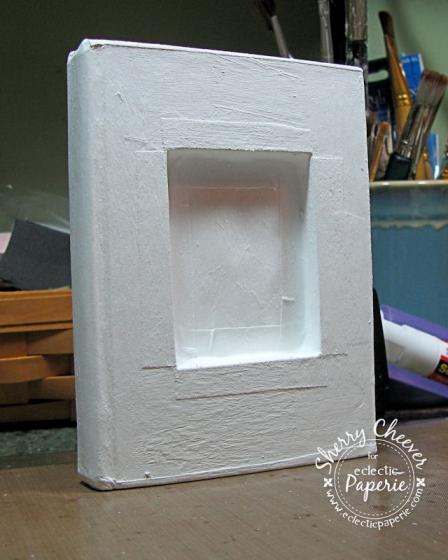
When I left you last (this post), it looked like this . . .

AlteredBook1

Using the TCW Mini Harlequin Stencil, white embossing paste was applied to the front (sorry failed to get pictures).  More embossing paste was applied to the middle, moving it out with my fingers.  Once all the embossing paste had dried, the book was painted with Lowe’s Pantone Tropical Oasis satin paint (which is a pretty bright turquoise color).

AlteredBook

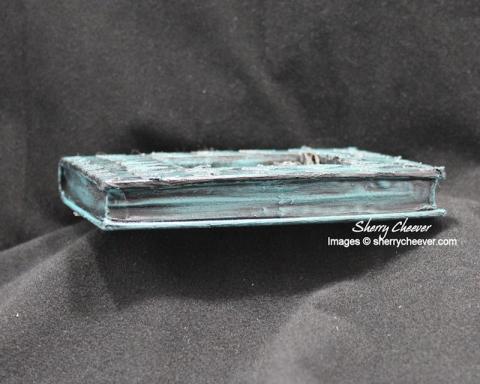
DecoArt Americana black glossy paint was mixed with DecoArt Staining Antiquing Medium and brushed over the book, wiping away the excess.

AlteredBookFlat

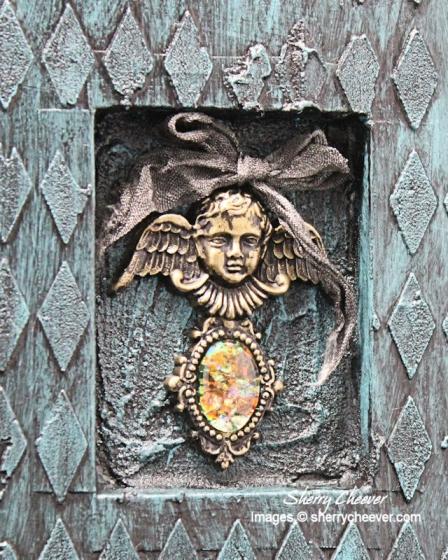
The center cherub is part of the Spellbinders® A Gilded Life Collection.  The same black/antiquing mixture was applied to the cherub to add a little more detail. ICE Resin® Shattered Inclusions were added to the bezel part and melted UTEE was poured into the mixture.

AlteredBookCloseUP

Seam binding was dyed with Black Soot Distress Ink and a ribbon was then tied to the top of the cherub.

All in all, I’m fairly happy with the way the book turned out.

AlteredBookSide

Don’t forget that this altered book is part of the eclectic Paperie’s ePlay Challenge – Push Your Boundaries! You still have time to participate this month and maybe you’ll be one of the lucky winners!

Thanks for stopping by and joining me!

SHERRY SIGNATURE

Project Supplies:

Good morning and welcome to the third Design-abilities blog hop! We are the Spellbinders® Blog Team and we wanted to do something fresh, fun and creative to bring our team together. But before we get started we want to let you know this blog hop is just for fun and creative inspiration. We are not sponsored by Spellbinders Paper Arts®.

Sometimes we might not all be able to participate but we would still encourage you to visit all of the Blog Team Members and check out their blogs. You will find all kinds of ideas for die cutting, paper crafting, mixed media, DIY projects, jewelry, home decor, lots of tutorials and techniques. As designers we are always inspired by each other and we hope to inspire you too.

Including me, the Spellbinders Blog Team consists of:

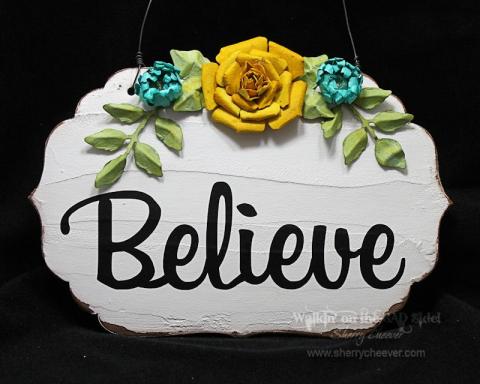
My project today is another plaque made from chipboard.
Feb2014SCBelievePlaqueWM

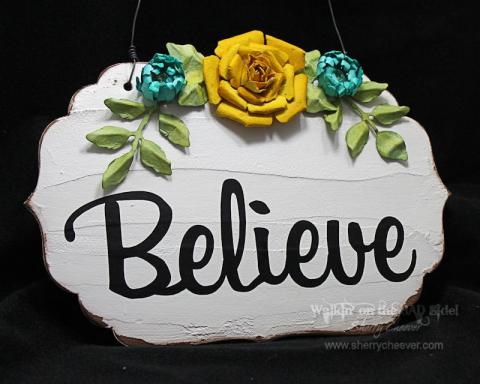
Using Spellbinders® Grand Labels Four, 5 pieces of chipboard were die cut and glued together. A thin coat of white embossing paste was added to the top for texture and to make the plaque resemble slate. Once the embossing paste was dry, the plaque was painted with Lowe’s Pantone Cloud Dancer acrylic paint.
Feb2014SCBelievePlaqueWMAngle

I don’t know if you can tell from the photo, but the embossing paste did not entirely cover the chipboard panel. The edges were sanded to remove some of the paint, and then sponged with Gathered Twigs Distress Ink.

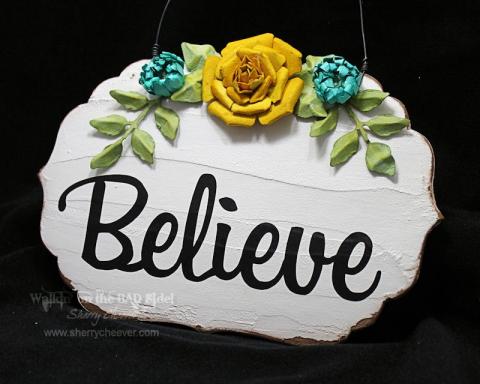
The flowers were die cut/embossed from watercolor paper using Rose Creations and Jewel Flowers and Flourishes.

BelievePlaqueCloseUpFlowers

The foliage was painted with Bundled Sage and Peeled Paint; the rose with Mustard Seed and Wild Honey; and the Jewel Flowers with Peacock Feathers. Inside the Jewel Flowers are vintage buttons that I found in my stash that still have bits of thread attached to them.

The sentiment “Believe” was cut from black vinyl using the Silhouette Cameo. (I told you I was hooked on the vinyl aspect of this machine!)
Feb2014SCBelievePlaqueWMAngleR

That’s all for me today! Thanks for stopping by and don’t forget to visit the other members of the Spellbinders Blog Team! I can’t wait to see what they’ve created for this hop!

Note to my sister, Carrie: Did I get the colors right for your new furniture? I threw in some of that yellow color because you didn’t get the gold couch!

SHERRY SIGNATURE

Project Supplies:
© 2015 Suffusion theme by Sayontan Sinha