
 Good morning! I hope y’all had a great day yesterday and got to enjoy the great weather . . . if you HAD great weather where you are. I’m a warm weather girl (hence the dream of a private island and cabana boys
  ) and spring and summer are always my favorite time of the year.
I started working on today’s project late yesterday afternoon. Actually I got so involved in what I was doing, that when my cell phone rang at 6:30 is startled me. It was Mallory calling to let me know that dinner was ready! She was upstairs, I was downstairs and she has been cooking dinner since she’s been home . . . can’t ask for anything better . . . . Healthy gluten-free meals that actually taste good! My job is to clean the kitchen after and guess what? I can handle that!
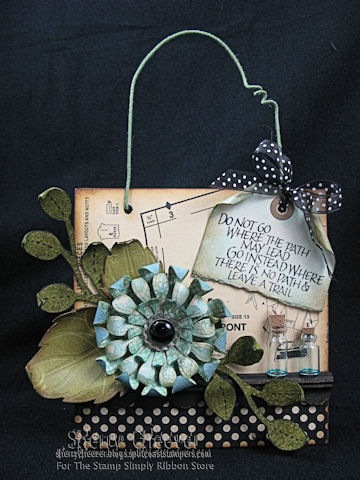
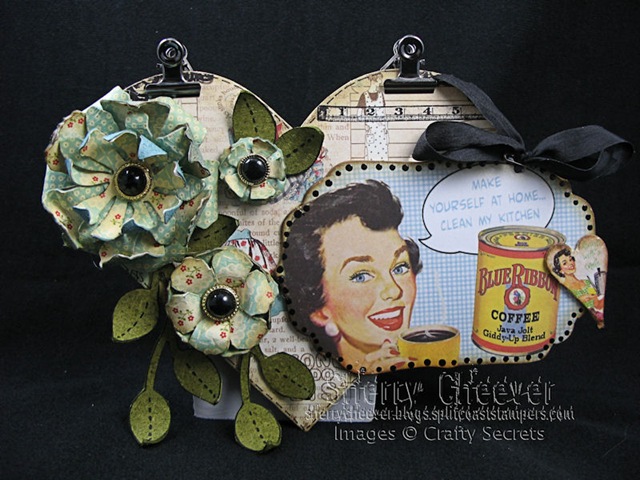
Okay, for today’s project. There was a little thought that went into this one. I knew that I was going to use the Kitchen Mail Postcard Kit, but wanted to mount the postcard on something else. Knowing that this would hang in my own kitchen because the image I picked to use said “Make yourself at home.” That is a standard phrase here in our house. I tell every guest to just make themselves at home and help themselves to whatever they need. I want friends and family to feel comfortable and welcome when visiting. In most homes, the kitchen is always the heart of the home . . . SO; I picked a heart chipboard piece to mount the postcard on.

This all makes sense to me but I’m afraid I might have gotten somewhat carried away. I was in such a zone that some of the things I added seemed right at the time and then when it was all said and done, maybe not so.
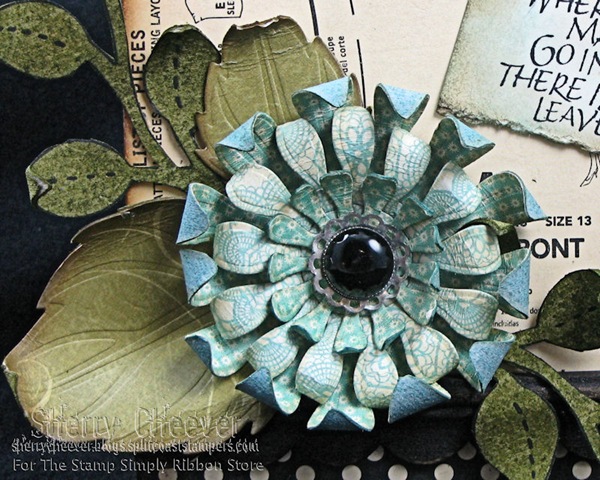
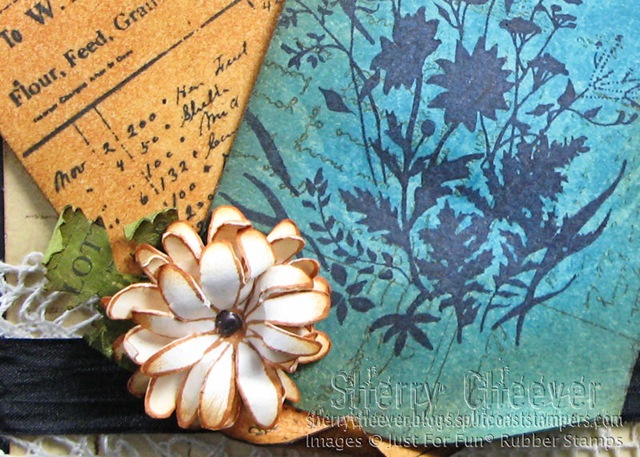
The flowers were made from The Thrift Shop papers and the heart is covered with the inside of the Domestic Goddess Creative Scraps. I worried so about where to place the heart on the Scrap so that certain images would show . . . DUH you can’t even see them now! To add a little interest to upper right side, I stamped the ruler from Crafty Secrets Hardware set. I punched my holes in the heart to close to the edge, so to solve my problem of torn chipboard; I added the clips to hold my chain.
- Stamps: Heartwarming Vintage Collection – Vintage Postcard Kit Kitchen Mail, Heartwarming Vintage Creative Scraps – Domestic Goddess and Clear Art Stamps – Hardware from Crafty Secrets; Studio 490 Ticket to Art by Stampers Anonymous from eclectic Paperie
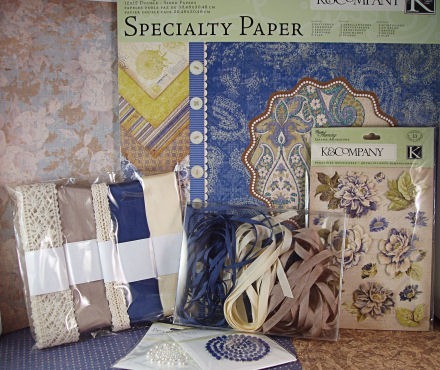
- Paper: October Afternoon The Thrift Shop from Stamp Simply Ribbon Store
- Ink: Ranger Archival Jet Black and Vintage Photo, Tumbled Glass, Peeled Paint, Old Paper Distress Ink
- Accessories: 1/2” Black May Arts Wrinkle Ribbon from Stamp Simply Ribbon Store; Ranger Matte Accents, Black Enamel Accents, Rock Candy Distress Stickles, Claudine Hellmuth Matte Multi-Medium; Tim Holtz Alterations Tattered Florals; Tim Holtz idea-ology Grunge Paper, Grunge Board, Link Chain, Mini Pins and Clips; Vintage Buttons (flower centers); Black Gel Pen (faux stitching)
That’s all for today folks! Thanks for stopping by and remember . . . life is short; take advantage of the adventures that come your way!


