
Good morning! Hope everyone is staying warm and you’re not buried under feet of snow. We’ve had our first major snowstorm for the year and it’s been bitterly cold . . . let’s hope it warms up for all of us soon!
During the last month, I’ve been working on some favors for my sorority province meeting . . . wish I had gotten a picture of the completed box. I die cut and made some fabric flowers that were attached to the front of a take-out box which we put a few treats in.
I’ve also taken the time to organize and clean my work space. I’m so glad I did . . . I finally feel that I have a room that suits me and that I actually like working in. (If you follow me on Facebook, you can see all the photos there!)
I have a few projects in the beginning stages for Ken Oliver using his new products. Love his new Color Burst! These will be hopefully finished over the upcoming weekend and I’ll have a few things to share next week.
The last few days I’ve been working on a project for Quietfire Design.
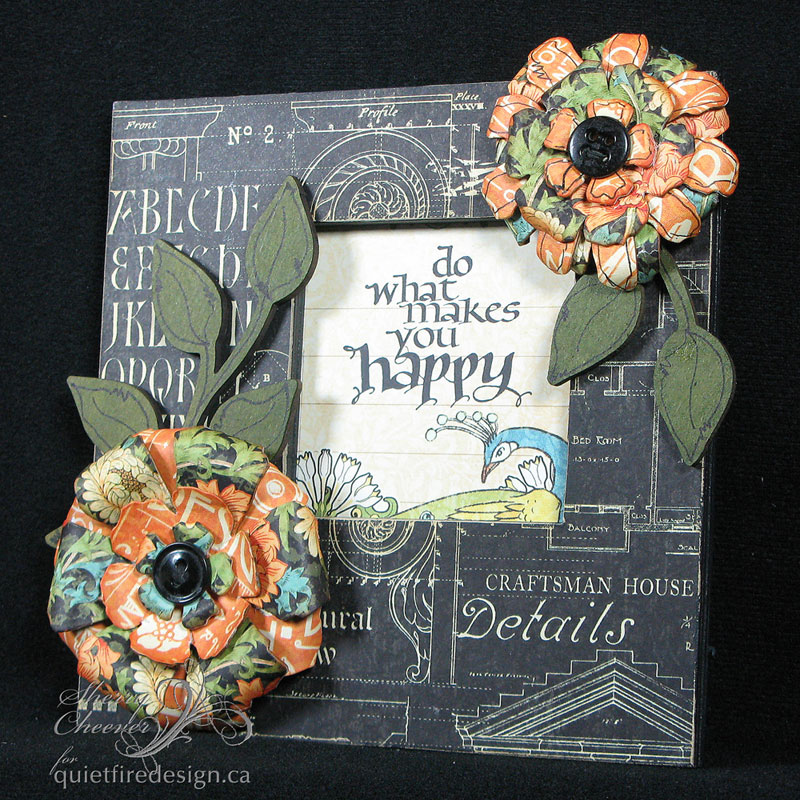
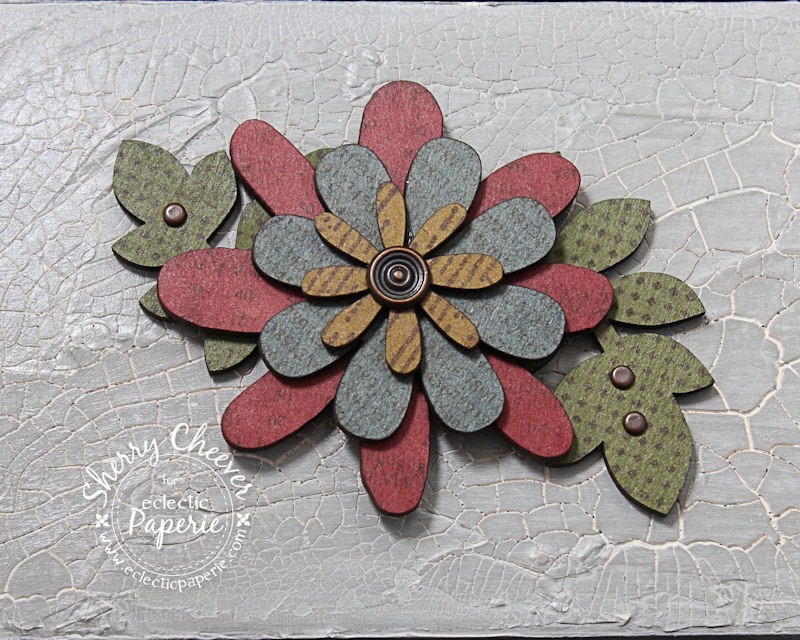
I used lots of old product that I’ve had in my stash for some time: An old Darcie’s Offset Square Shadowbox Frame, GrungePaper, Tattered Floral die (I know . . . don’t faint). I also used some new Graphic 45 paper I picked up at CHA, Artisan Style, and a Quietfire stamp. Please hop over to the Quietfire Creations Blog, check out all the details and more photos. I would love it if you could leave me a comment over there and let Suzanne know you visited!
Thanks for stopping by today!

Project Supplies:


