
 Good morning and happy Monday! I hope y’all had a great weekend and you’re read for the upcoming week. I’ve had a 2 week break from babysitting, but that’s over starting today. Kate’s school is on year-round starting with this school year so every nine weeks, I get a 2 week break. That’s 2 weeks to catch up on my sleep and completely throw off what schedule I was able to get into the 9 weeks leading up to it. Ahhh but it’s all good . . . I get to spend some quality time with Hadlee!
I’ve got that tutorial making flowers with watercolor paper for you today, but I’ve got to tell ya . . . it took me all day yesterday to get it done. First, I got a little long winded on my video and actually ran out of time on my camera. It stopped after 35 minutes and I wasn’t finished, so I started another and kept going. Okay I forgot the 15 minute rule for YouTube. I couldn’t figure out how to get the darn video edited into different segments, which by the way, would have been 3 videos at the least . . . so I went searching through YouTube to see if there were ways around it. When did they change YouTube? 
Everything has changed so much since I last uploaded a video . . . I hope I figured it all out and it’s going to work.
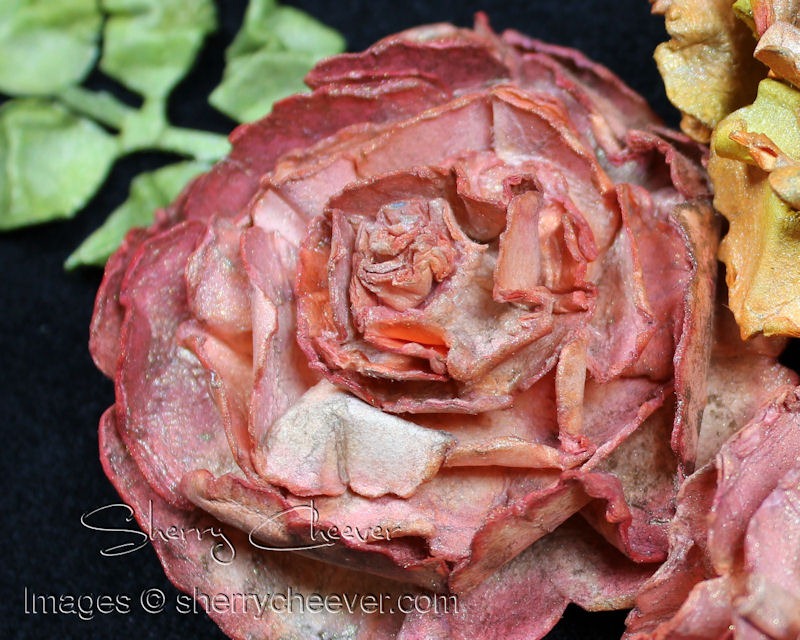
So needless to say, I started out with these flowers and leaves

and you are still getting the leaves, BUT you’re only getting this flower on this video
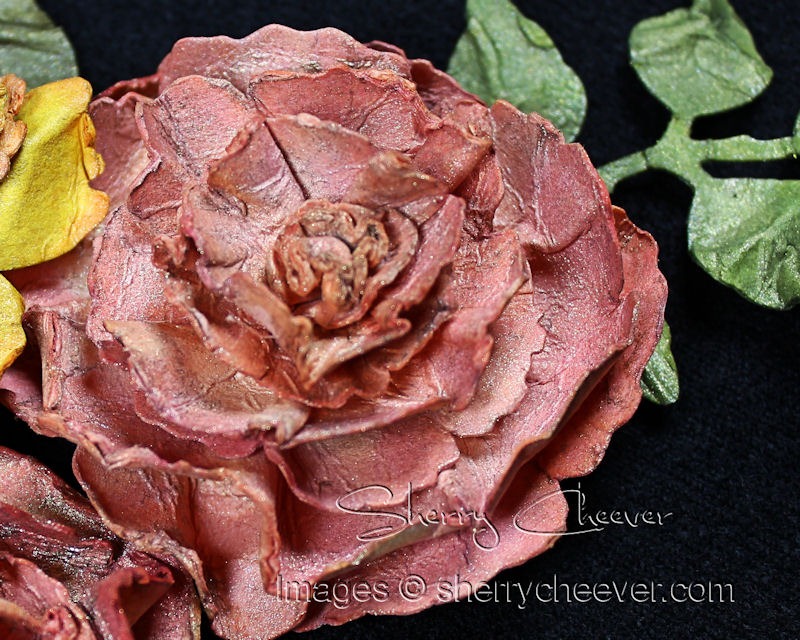
Don’t you just love the shimmer, the pooling of the Perfect Pearls and all the texture . . . I know I do!
So without further delay  , here’s the first of the Watercolor Paper Flower videos!
Thanks for stopping by today and I hope you enjoyed the video. There will be at least two more . . . one using the Grand Peony Creations and one for the Rose Creations.
Oh and I almost forgot . . . tomorrow is my day in the Spellbinders Explore Beyond: Sneak Peek and Giveaway! I hope you’ll drop in tomorrow and take a gander at what I’ve done for CHA.

Project Supplies:
|
|
|
|
|
|
|
|
|
|
|
|
|
|
|
|
|
|
|
|
|
|
|


