Wow have I been gone for a little bit.  Well, not really gone but not able to post much.  I hope everyone had a wonderful Christmas holiday and if you have the crud like the rest of us, it hit you after Christmas Day!

I’ve been busy in the studio, and have a number of things to show you . . .  now that the holidays are over . . . but first and foremost, I must show you some CHA projects I’ve been working on.

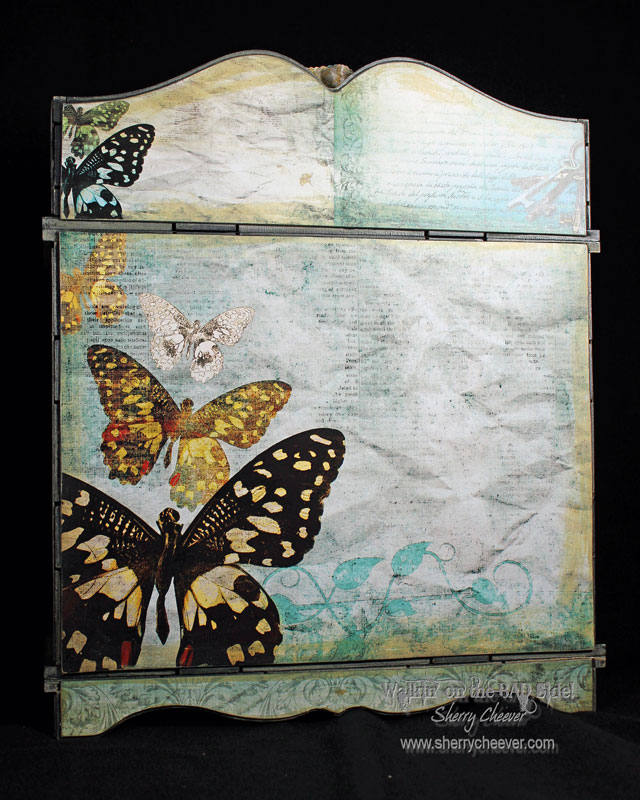
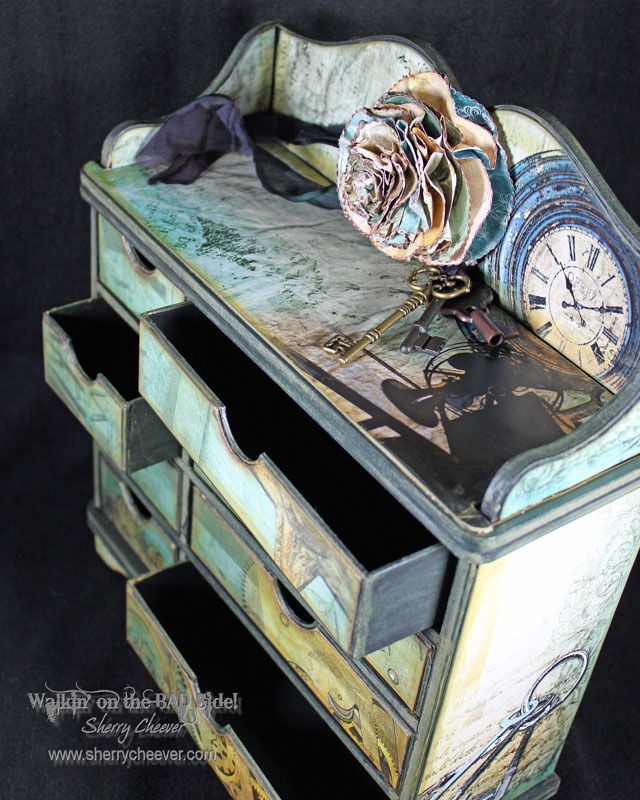
Today’s project is one I’ve worked on for my friend, Ken Oliver, using one of his new lines of paper and inks, which are premiering at CHA.

STUDIOCabinet

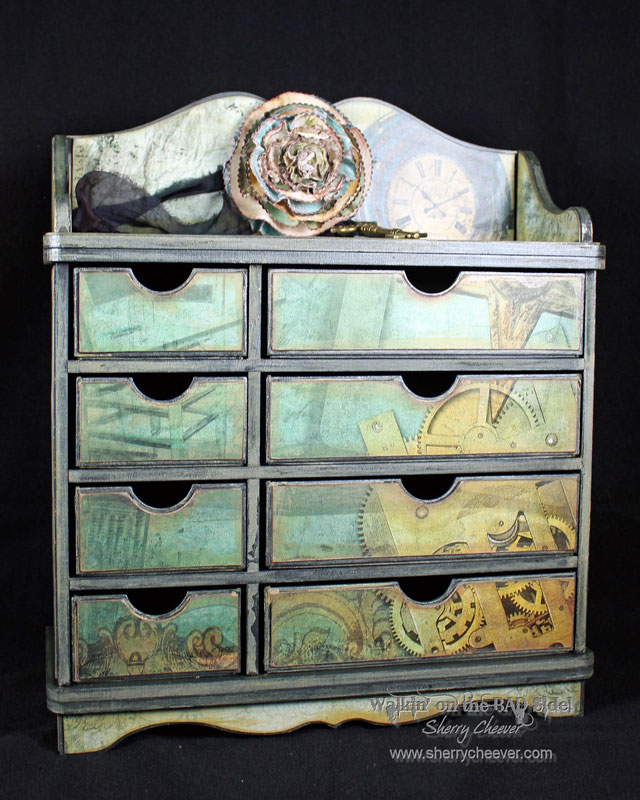
The paper used is Ken’s new line, Studio, and it features items that he has placed around his home and in his studio.  If you were one of the lucky one who attended  his Art at the Edge and went to visit his home, you’ll recognize some of the images in the papers.  Quite frankly, it’s quickly become one of my favorites!!

STUDIOCabinetSide

The storage unit is the Verona Creative Storage Kit in the Forever Moments line by Tonic Studios.  I will say that this storage kit is quite the endeavor, 2 or 3 days to paint and assemble . . . well at least for me . . . but I do believe it is well worth it in the end!

STUDIOCabinetBack

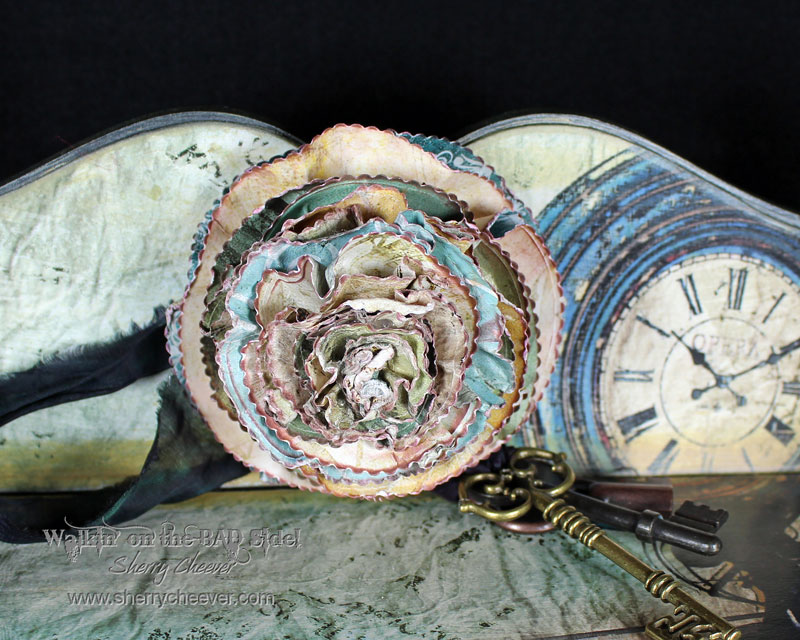
The flower in the center at the top was made from bits and scraps of the left over paper, using Tonic Studios Scalloped Circle Layering Die Set.

STUDIOCabinetFlower

I also need to mention that Ken’s papers come in 12×12 and 6×6, perfect for card makers and bigger projects, and it has a glossy finish making for a quite thick and sturdy sheet of paper!

STUDIOCabinetTopDown


So I think that’s all for me at this time!  Like I said earlier, I have so much to show you in the next few days . . . I’ll be back!

SHERRY SIGNATURE


Good morning!  WOW I can’t believe it has been over 2 weeks since I posted last.  That really was not my intention when I was here last . . .  but alas I suppose life does have a way of interfering at times.  Truthfully, I find I’m busier with every day life events during the holidays than with anything else.  You see, when I have the grand baby here, there is no studio time and I’ve had her quite often the last few weeks.  Of course, don’t get me wrong . . . I wouldn’t trade my time with her for anything . . . but I miss my craft time too!

Today I have a card over on the Quietfire Creations Blog.  You know I love making snowflakes at this time of the year and I couldn’t let another post go by without some.  I hope you’ll join me over at Quietfire!

snowflakecardCloseUP5

On another note, I’ve been getting in quite a bit of new product . . . some of it is going to knock your socks off and I can’t wait to be able to share with you!

SHERRY SIGNATURE

Good morning!  Today it’s my turn to post over on the Quietfire Creations Blog.

Here’s a little sneak peek of the card I’ve posted.

QFDBelieveCloseUPOrnament

When working on this card, I was playing with the new product Stick It!  LOVE!!!!  It’s a thin adhesive that works perfectly with intricate die cuts.  If you’ve not seen it or heard about it, here’s a post on Ken Oliver’s blog talking all about Stick It!

I used Stick It when I die cut the middle section of the ornament so that I would be able to adhere it to the ornament easy.  Didn’t want to mess around with trying to glue it.  After completing the card, it occurred to me to try the Stick It on the top side of the die cut.  Perfection!  I could add all the glitter I wanted and it stayed on the Stick It side!  You are going to love this thin adhesive!

Anyhoo, to get all the details and more pictures of today’s project, please visit the Quietfire Creations Blog.

Thanks for stopping by today!

SHERRY SIGNATURE

Hey y’all!  So I got my days a little mixed up and calendars were a little wonky and I ended up with an extra project, which I’ve decided to post today instead of waiting for a couple of weeks.

You know, I’m not really a pink kinda girl, and somehow I ended up with pink as the main theme.  It really was quite by accident, since the original plan was white, ALL white!

QFDPoinsettiaLeft

The poinsettia was die cut/embossed and while I was in the process of shaping the leaves, it turned red/pink.  I truly doubt that this had anything to do with the mist that I had sprayed on the blooms, but instead some left over ink on the foam I was using for shaping; when I turned the leaves over, they were pink.  Instead of tossing them (which was my first inclination), I decided to go with the mistake and make a happy ending with it.  Actually, I liked the little touch of color!

The sentiment, Quietfire Design – Christmas Waves a Magic Wand, was embossed with Queen’s Gold Embossing Powder and then die cut/embossed with Spellbinders Labels 40 Decorative Accents.  While the paper was still in the die template, Antique Linen Distress Ink was sponged around the inside of the die.

QFDPoinsettiaCloseUP

The layers behind the sentiment were die cut/embossed with Spellbinders Labels 40, and sponged with Antique Linen as well.  I couldn’t decide on the color of ribbon to use, so I went with dying some seam binding with Spun Sugar Distress Ink.

QFDPoinsettia1

I guess that’s all for now.  I hope you have a fabulous day and thanks for stopping by!


SHERRY SIGNATURE


Project Supplies:

© 2015 Suffusion theme by Sayontan Sinha